I spent a few hours this weekend tinkering with cloud-based computer vision APIs as part of a personal project to better classify my photos. I tested the Microsoft Computer Vision API and Google’s Cloud Vision API.
Both were reasonably easy to set up, although the Google one requires a bit more effort and fussing around to navigate their API control panel. Microsoft’s took probably less than 10 minutes from signup to having working code – their process is much simpler; basically register and get an API key and you’re ready. Google requires that you signup, submit payment details, download their SDK, authenticate your account through the SDK via OAuth, and then you can finally try it out.
I had somewhat lower expectations from the Microsoft one based solely on the first thing that I saw when I checked out their home page – one of the examples that is displayed by default includes errors in their OCR:

Microsoft’s API still performs fairly well, although from a quick experimentation it seems that the Google one produces more reasonable results.
Here are some examples:
Microsoft
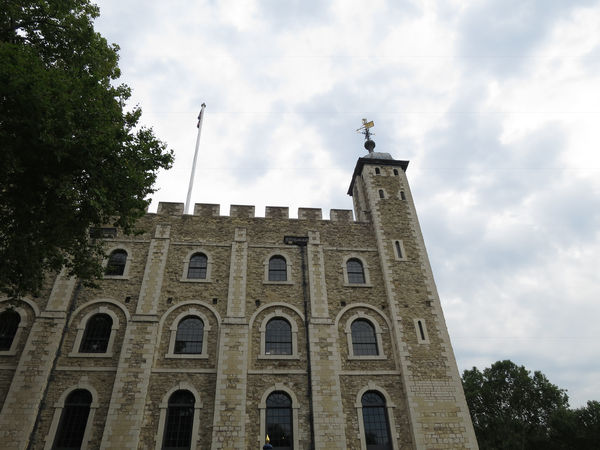
Landmarks
	Tower of London
Labels:
	sky
	outdoor
	tree
	building
	tall
	roof
Google
Landmark:
	Tower of London
	Tower of London, Jewel House
Labels:
	sky
	building
	landmark
	historic site
	medieval architecture
Google’s tags are a bit more specific than Microsoft’s, but there’s some overlap. Google correctly identifies it as the Tower of London, but incorrectly decides it is Jewel House (it is the White Tower).
Winner: Google

Microsoft
Labels:
	water
	outdoor
	sky
	building
	river
	bridge
Google
Landmark:
        Tower Bridge
Labels:
        bridge
        reflection
        body of water
        waterway
        landmark
Google correctly flags this as the Tower Bridge but almost amazingly (considering how iconic it is), Microsoft does not. Perhaps the colours or darkness are causing issues here. However, the tagging in both is pretty good.
Winner: Google

Microsoft
Labels:
	tree
	outdoor
	sky
	building
	government building
	tower
Google
Landmark:
        St. Paul's Cathedral
Labels:
        sky
        landmark
        tree
        urban area
        woody plant
Again, Google is correctly able to identify the landmark while Microsoft falls short.
Winner: Google

Microsoft
Labels:
	outdoor
	water
	sky
	night
Google
Labels:
        night
        reflection
        landmark
        cityscape
        waterway
Neither of them pick up that this is Big Ben and/or Westminster. The tags are pretty good although I feel Google has a slight advantage for calling it a cityscape.

Microsoft
Labels:
	table
	sky
	wine
	tree
	outdoor
	glass
	beverage
	drink
	alcohol
Google
Labels:
        water
        drink
        beer
        alcoholic beverage
        wine glass
Both pick up on the alcohol theme, but Google correctly identifies it as beer – although it picks it as a wine glass, perhaps because it’s a slightly unusual shape for a beer glass. Microsoft’s tags however are much more complete.
Winner: Google

Microsoft
Labels:
	manhole cover
Google
Labels:
	circle
	manhole
	manhole cover
	black and white
	stone carving
I have a lot of photos of manhole covers and I am keen to find a way to tag them automatically. Both Google & MS correctly tag this. Google has a bunch of extra detail, although the photo is not actually black and white.

Microsoft
Labels:
	sky
	outdoor
	grass
	mountain
	person
	standing
	nature
	posing
	day
	highland
Google
Labels:
	mountainous landforms
	sky
	mountain
	nature
	cloud
Microsoft has a lot of detail here and importantly correctly identifies it as a “highland” photo. But both are pretty good.
Winner: Microsoft

Microsoft
Labels:
	fence
	tree
	outdoor
	parrot
	animal
	bird
	white
Google
Labels:
        bird
        vertebrate
        purple
        flora
        tree
This is not a parrot, Microsoft. Vertebrate is a bit generic, although it is indeed a bird. Bit of a draw but the tags are still generally useful.
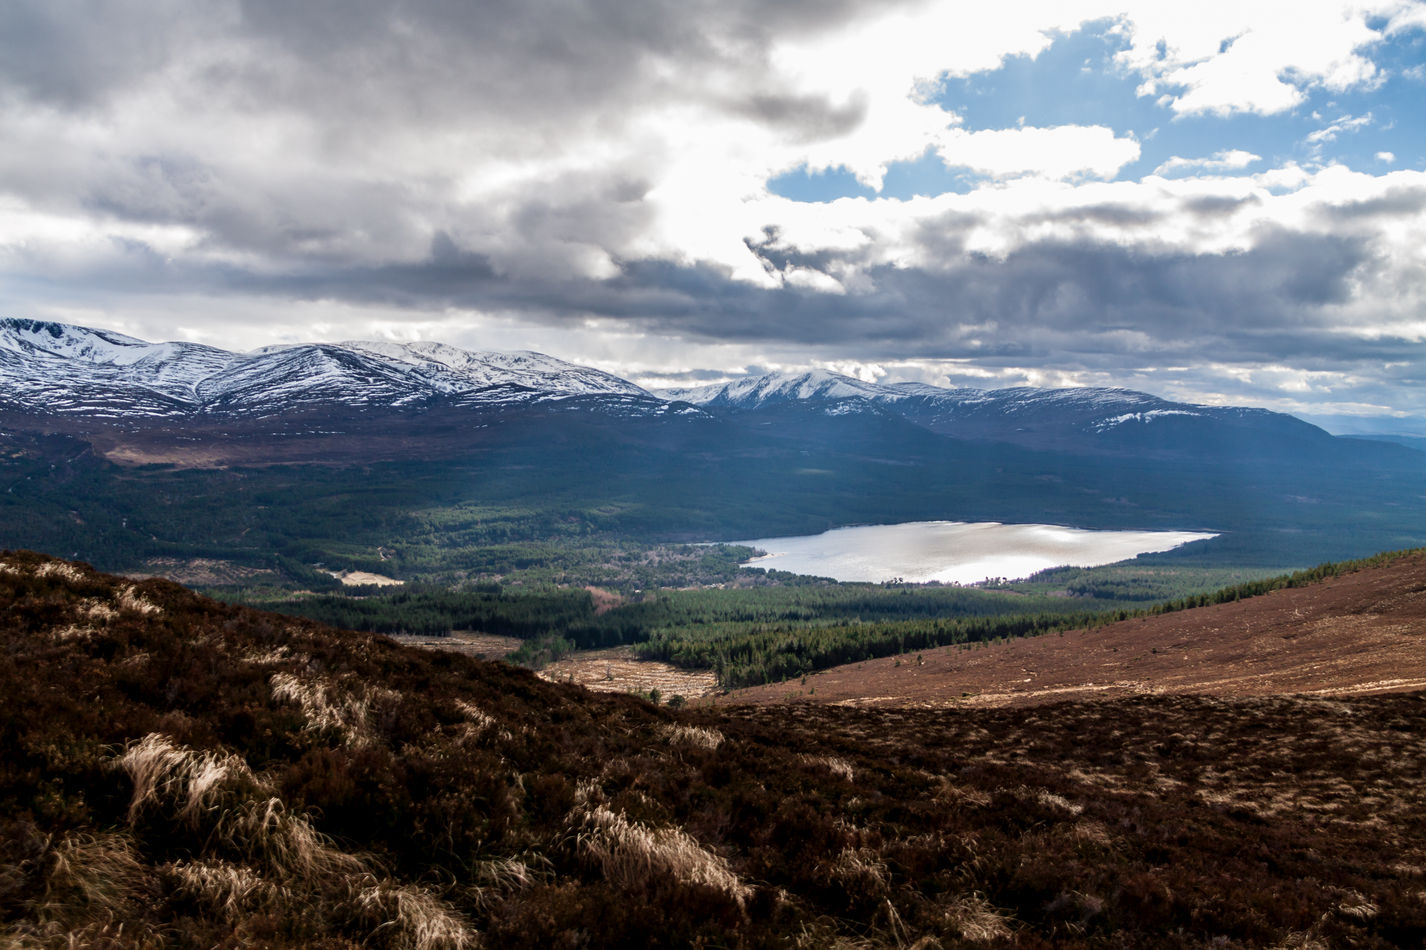
Microsoft
Labels:
	sky
	outdoor
	mountain
	grass
	nature
	hill
	field
	background
	overlooking
	grassy
	hillside
	cloudy
	clouds
	highland
	land
	distance
Google
Labels:
        highland
        sky
        loch
        cloud
        wilderness
Well, Microsoft really throw the kitchen sink at this one, but they’re all accurate. Both correctly tag it with “highland” which is great, but bonus points to Google for “loch”.

Microsoft
Labels:
	person
	outdoor
	man
	standing
Google
Labels:
        photograph
        statue
        monument
        photography
        religion
I was curious to see what it would think about a statue; Google’s tags are clearly more useful than Microsoft’s here.
Winner: Google

Microsoft
Labels:
	grass
	outdoor
	sky
	tree
	building
	field
	farm
	old
	grassy
	pasture
	garden
	lush
Google
Labels:
        grass
        cemetery
        tree
        wall
        historic site
Microsoft again throwing down as many as possible. Both pretty useful although again Google is the clear winner for picking it as a cemetery.
Winner: Google
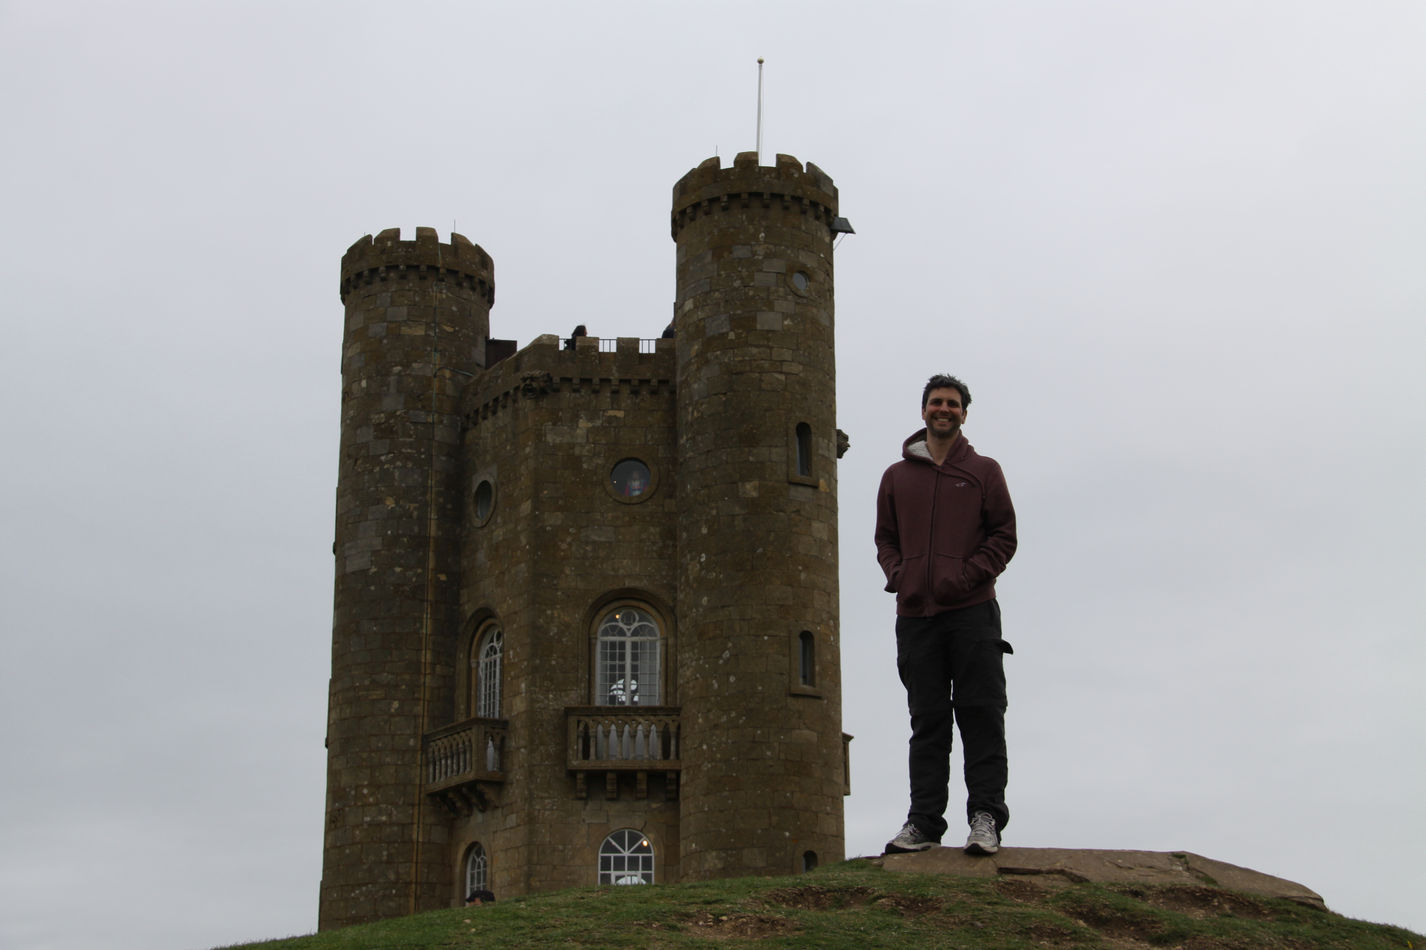
Microsoft
Labels:
	building
	outdoor
	tower
	old
	stone
Google
Landmark:
        Broadway Tower
Labels:
        castle
        building
        sky
        tower
        fortification
Google again nail the location and also tag it as a ‘castle’, which is certainly what I would have done. Microsoft’s are OK but again a bit too general.

Microsoft
Labels:
	blurry
	rain
Google
Labels:
        insect
        bee
        honey bee
        macro photography
        membrane winged insect
Microsoft have no idea what is going on here. Google smashes it.
Winner: Google

Microsoft
Labels:
	sky
	outdoor
	grass
	tree
	cloudy
	clouds
	day
	lush
Google
Landmark:
        Queen's House
Labels:
        cloud
        sky
        city
        daytime
        urban area
More generally correct stuff from Microsoft, but Google nail it with Queen’s House (although if it had also picked Canary Wharf I would have been doubly impressed).
Winner: Google